2. Getting started: MiSTer on a budget
A recent article in Polygon gave a nice overview of the MiSTer system. The typical system looks like the image below, which I copied from the article.
:no_upscale()/cdn.vox-cdn.com/uploads/chorus_asset/file/22813731/mister_addons_assembled_nocase.jpg)
What we have here is the De-10 Nano board which is the heart of any MiSTer system stacked between two dedicated add-on boards. At the top is an IO board which provides switches, lights and additional connectivity. At the bottom is a USB hub board which increased the number of USB ports from 1 to 7. There is also a memory module plugged in. Most users will of course also choose to enclose their system in some sort of case.
All of these extras cost. The PCB designs for the add-on board are all open source if you want to make your own, or you can buy them made up from an online retailer. My recommendation is https://misterfpga.co.uk/, which provide a great service. However, it may surprise you to learn that most of this is unnecessary and you can get started in the world of MiSTer with very little in the way of addons. When I first built mine back in late 2020, I knew that what I was putting together was a temporary setup that would eventually be housed in the Checkmate case, so I deliberately avoided buying some of addons which I knew would be redundant later on. In this page I will give a summary of the components which are essential to get started, the extras I chose to add on, and some of the addons I deliberately chose to ignore.
Essential items
- DE-10 Nano
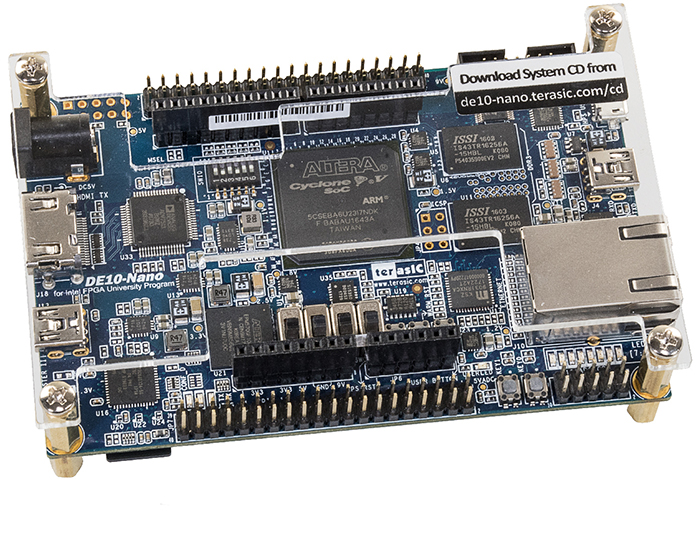
The first and most important item is the Terasic DE-10 Nano board. I bought mine from Digikey, but another good option is Mouser. From memory I paid something like $130 for mine, but sadly the price has gone up since then and so expect to pay more like $170. The board comes with cables and a (US plug) power supply, so as long as you have a US to UK adapter you are good to go.
2. SDRAM module

Nearly all the cores require an SDRAM memory module, so this is an essential purchase. You don’t need a big one however. Almost everything will run with a 32MB module, which at the time of writing is priced at £19.99 on misterfpga.co.uk. The biggest module available is 128MB, which is currently £49.99 at the same site. This amount of RAM is only needed for some of the Neo Geo cores at the moment, but for me it was worth going for this more expensive option for the ‘future proofing’ it provides, since new cores are under development all the time.
3. Micro SD card

You don’t need a big one by today’s standards – you can fit every game ever created for a Commodore machine in a few gigabytes. 32GB is probably more than adequate.
4. (Powered) USB hub
You will want to connect more than one USB device, so you need a hub. If you want to connect lots of devices, you need a powered one. What you don’t need is an expensive one: the USB port on the DE-10 Nano uses the USB 2 standard, so an older, cheaper hub is fine. I didn’t even need to buy one, I had an old hub in my bits box from pre-USB 3 days.
5. USB OTG cable

You’ll need one of these to connect the hub to the MiSTer. A couple of quid from Amazon if you don’t have one already.
6. That’s it!
Assuming you have things like a keyboard, mouse and/or controller already which you can use to interact with the system, that really is all you need to get started. Total cost is well under £200. This is a big step up in cost from a Raspberry Pi 4 based system, but not as big as you might expect when you first hear about the project.
My additions
There were a few things I added to my base system. I’ve already noted I went for the luxury of the 12MB SDRAM moduled rather than the 32MB which was all I really needed. Other additions are as follows.
- Cooling
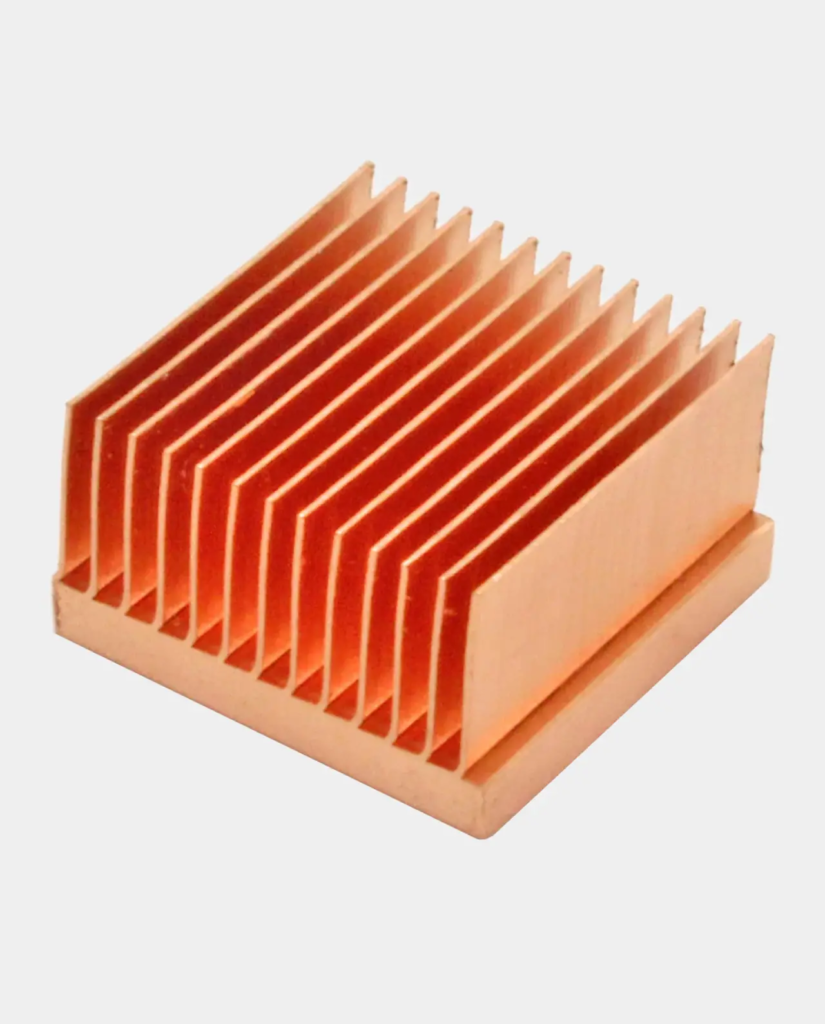
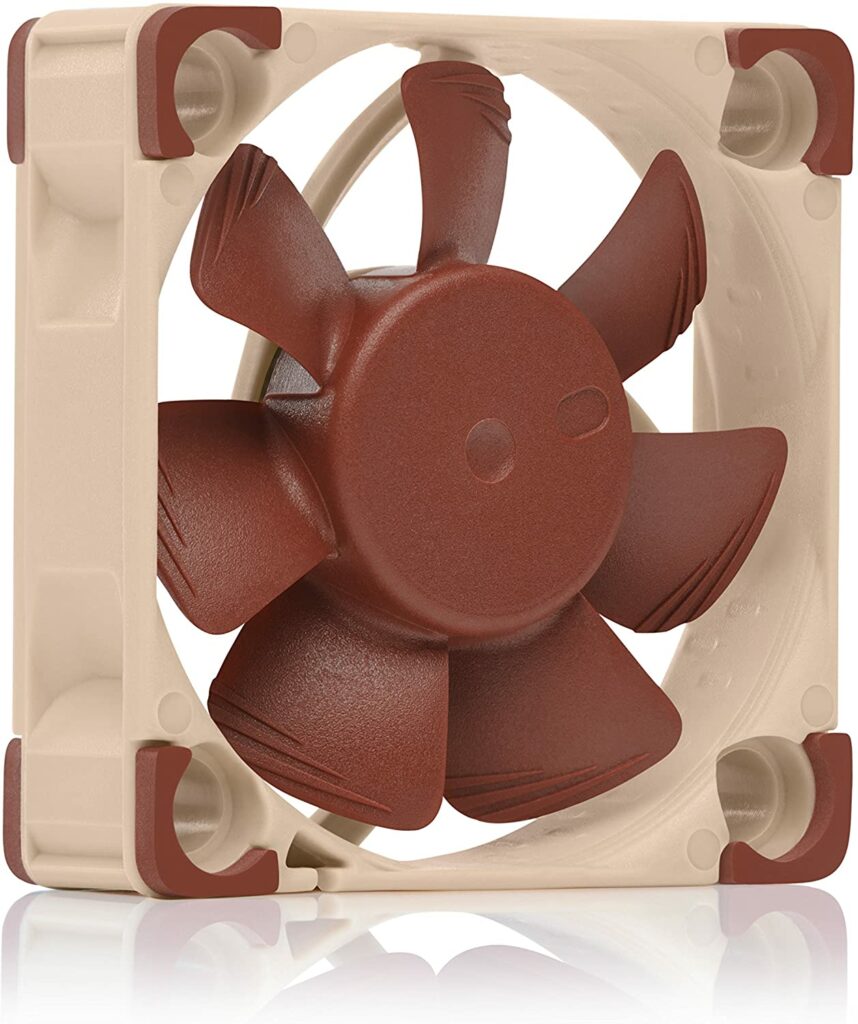
The Cyclone chip on the DE10-Nano rarely gets very hot under normal operation, but prudence suggests some cooling should be added. I bought the copper heatsink from misterfpga.co.uk and paired it with a 40mm Noctua fan I already owned.
2. ‘Case’

While I did not need a case at this stage, I needed some sort of plate to mount my fan onto. I could have fashioned something myself, but to keep life simple I just splashed out £11 on the top and bottom acrylic plates on misterfpga.co.uk. These provide a minimal amount of protection, which was fine for my initial needs.
3. Inline power switch
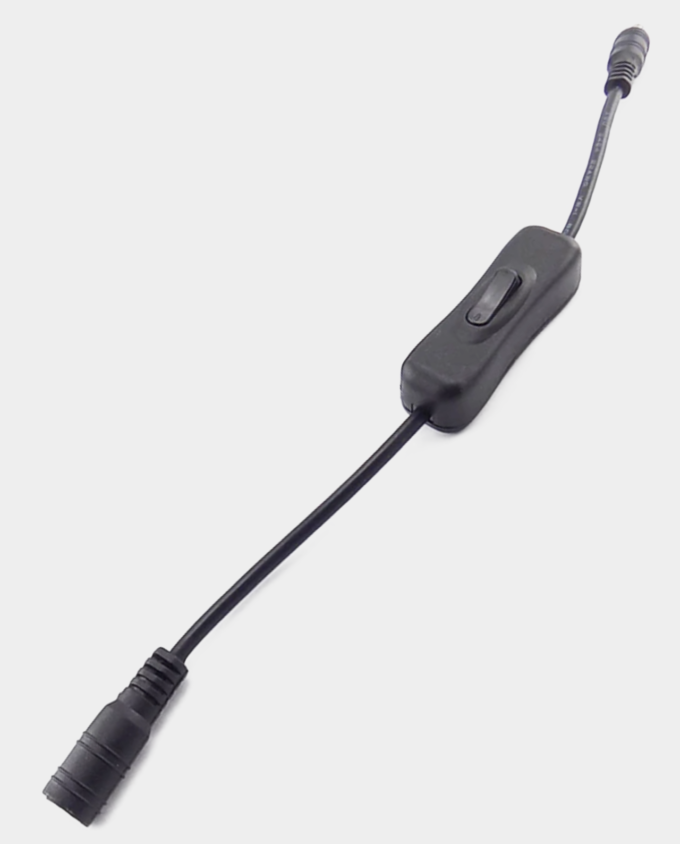
£5 to buy, but I think I had one of these knocking about in my bits box already. Saves wear on connectors through plugging/unplugging to turn the unit on and off.
4. Bluetooth and Wireless adapter
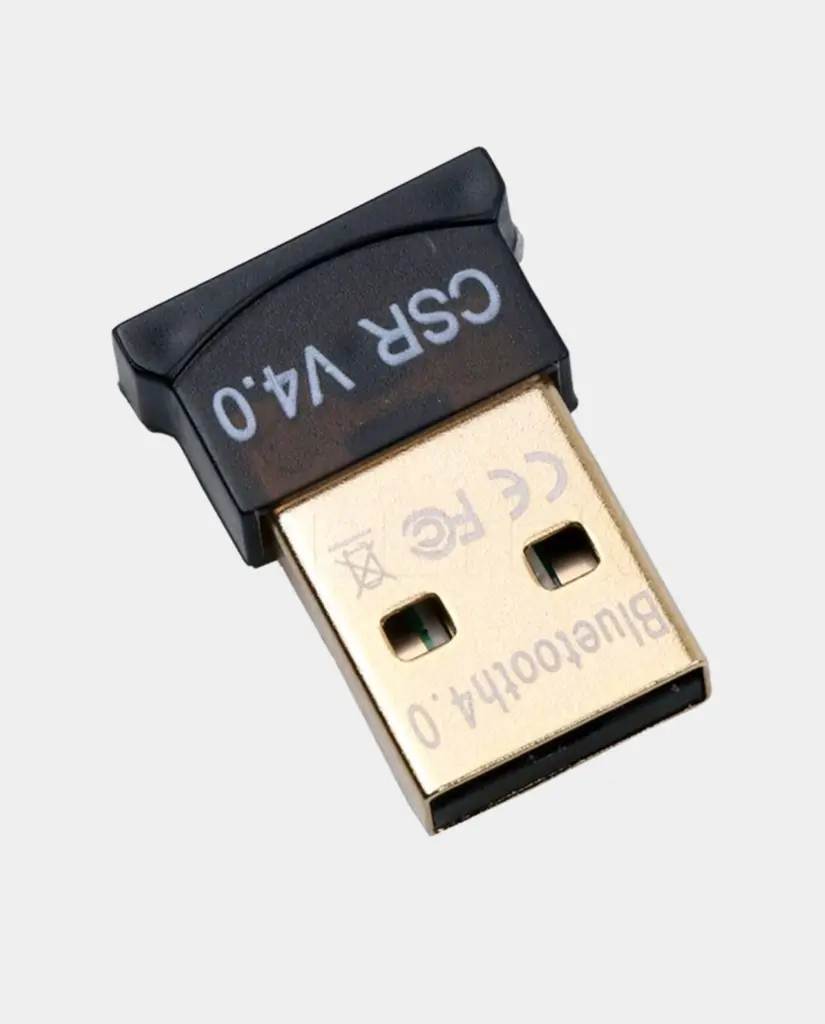
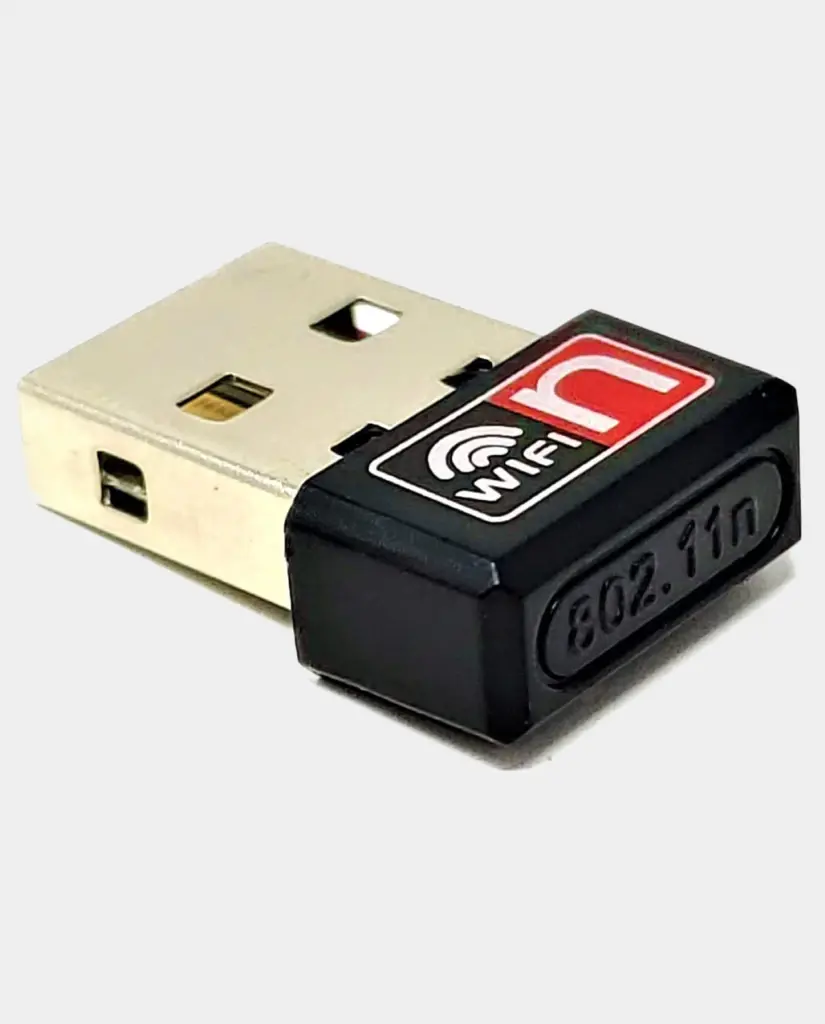
£7 each from misterfpga.co.uk. The bluetooth adapter I needed for wireless game controllers. The wireless adapter not really necessary as I planned on using wired ethernet, but for the sake of a few quid it’s worth having an adapter that has been tested and known to be compatible.
5. Real Time Clock board
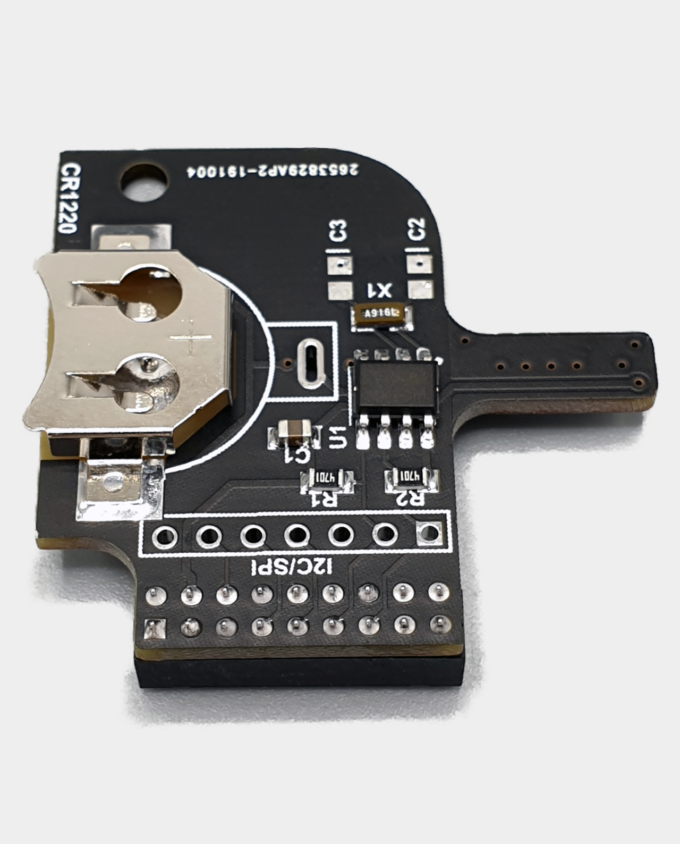
This is completely unnecessary because the MiSTer can pick up the time from the network. However, my Amiga A500+ had a battery backed clock, so I wanted my new system to have one too. A real nostalgia purchase!
6. And that’s it, again!
Here is my complete MiSTer system. I have the DE10-Nano board sandwiched between the two protective plates. The top plate holds the fan, and below that the heatsink is mounted on the processor. The memory module is plugged into the board, as is the RTC board. Connected around the edges is the HDMI video output, ethernet, power (with inline switch) and a D-Link USB hub connected via an OTG cable, with the bluetooth adapter and my mouse and keyboard plugged into the hub. This is all you need for a fully functional MiSTer system, and it cost me around £200 or so in total. It is pretty ugly without a case and with cables going everywhere, but I know this is only a temporary solution. But what if it wasn’t? What other extras would I add?
The ‘usual’ extras I omitted
I think it’s probably fair to say that most MiSTer setups would tend to include the following extras:
- An IO board

An IO board is ubiquitous to the point where I think a lot of people don’t realise you can run without one. This board sits on top of the DE-10 Nano, plugging into the GPIO. It adds a number of features, including three buttons to control the menu and reset the device, three lights for power and disk activity, connectors to break out the lights and buttons to an external case, a VGA and audio out to replace or complement the HDMI out on the board, a second micro-SD slot (used in some cores), a ‘User IO Port’ (used by some addons) and an on-board fan.
None of this is essential. The menu buttons for example are useful, but the same thing can be achieved with a keyboard shortcut. You can replicate any of the functionality by just wiring up to the DE-10 GPIO directly (I have done this for the user IO Port, for example). However, what this board does add is ease of use and an overall improvement to quality of life.
So why didn’t I get one? Simply because I know that the functionality I need here will be replicated in my final case solution. If I didn’t have that destination in mind I’m sure I would have picked one up.
2. The USB hub

This board sits under the DE-10 Nano and connects to the USB port via a bridge connector. It is independently powered. What it is is a 7 port USB hub with the same form factor as the DE-10. It’s a neat and tidy alternative to using any other external hub.
So why didn’t I get one? Again, I don’t need it. I have a perfectly serviceable hub, and it doesn’t matter how messy my setup looks because it will eventually be hidden in an ITX form factor case. This hub is what you need if you want to make an all-in-one solution in a small footprint case.
3. A proper case
Stack the IO board, the DE-10 Nano and and USB hub together and you have a nice little device with everything contained and a small footprint. Stick it in a custom case and you are away.

Above is an example acrylic case from misterfpga.co.uk. You can see the stack of board inside the case.

Above is a much nicer, aluminium example from misteraddons.com. See this thread on the MiSTer forums for many other nice builds.
So why didn’t I get one? Because the Checkmate case is the case I want. I also generally dislike this form factor. While it is as compact as it is possible to be, I don’t like the ports all around the device. Ports should be at the back, with one or two USBs in the front for convenience. I am happy to sacrifice footprint size for this aesthetic.
In conclusion…
My messy MiSTer build came in at £200 or so. Bump that up to £350 to get the IO board, USB board and a nice case and you have a complete setup. I however have a different setup in mind for my dream system, and over the next few pages I will go from my messy test setup to my dream machine. We’ve done the background now, so on to the build!