3. Basic software setup
I’m still waiting to take delivery of most of the hardware I need, so let’s start with the software install. I do have a perfectly fine install which I’ve been using since 2020, but there’s a couple of reasons to start from scratch with a nice clean install. First of all I will be using a different SD card. The DE-10 runs from a micro SD card mounted on the board, however one thing I want to do is make my SD card accessible without taking the case apart. To that end I have bought a SD card extender and a full-size SD card to put in it.
I will also be adding an SSD to the system, connected via USB. The SD card will just hold the necessary system files, and all of my games, virtual hard drive files and so on will go on the SSD. My experience with Raspberry Pis have taught me that it’s better where possible to use a hard drive rather than an SD card, due to the fragility and relatively short lifespan of cards. The 512GB Samsung SSD I’m using is complete overkill for this project, but it wasn’t too much more expensive than much lesser drives. And we are building my dream system, after all!
Given this hard drive will be internal to the case I could have saved a few pennies by choosing an internal SSD. However, I do not have a SATA interface to the MiSTER and internal SSDs with USB connections don’t exist. What do exist are third party SATA to USB converters, but after shuddering through a few Amazon reviews of such things (‘this converter fried my motherboard!’) I decided to keep it simple and go for an external drive with a built in USB interface.
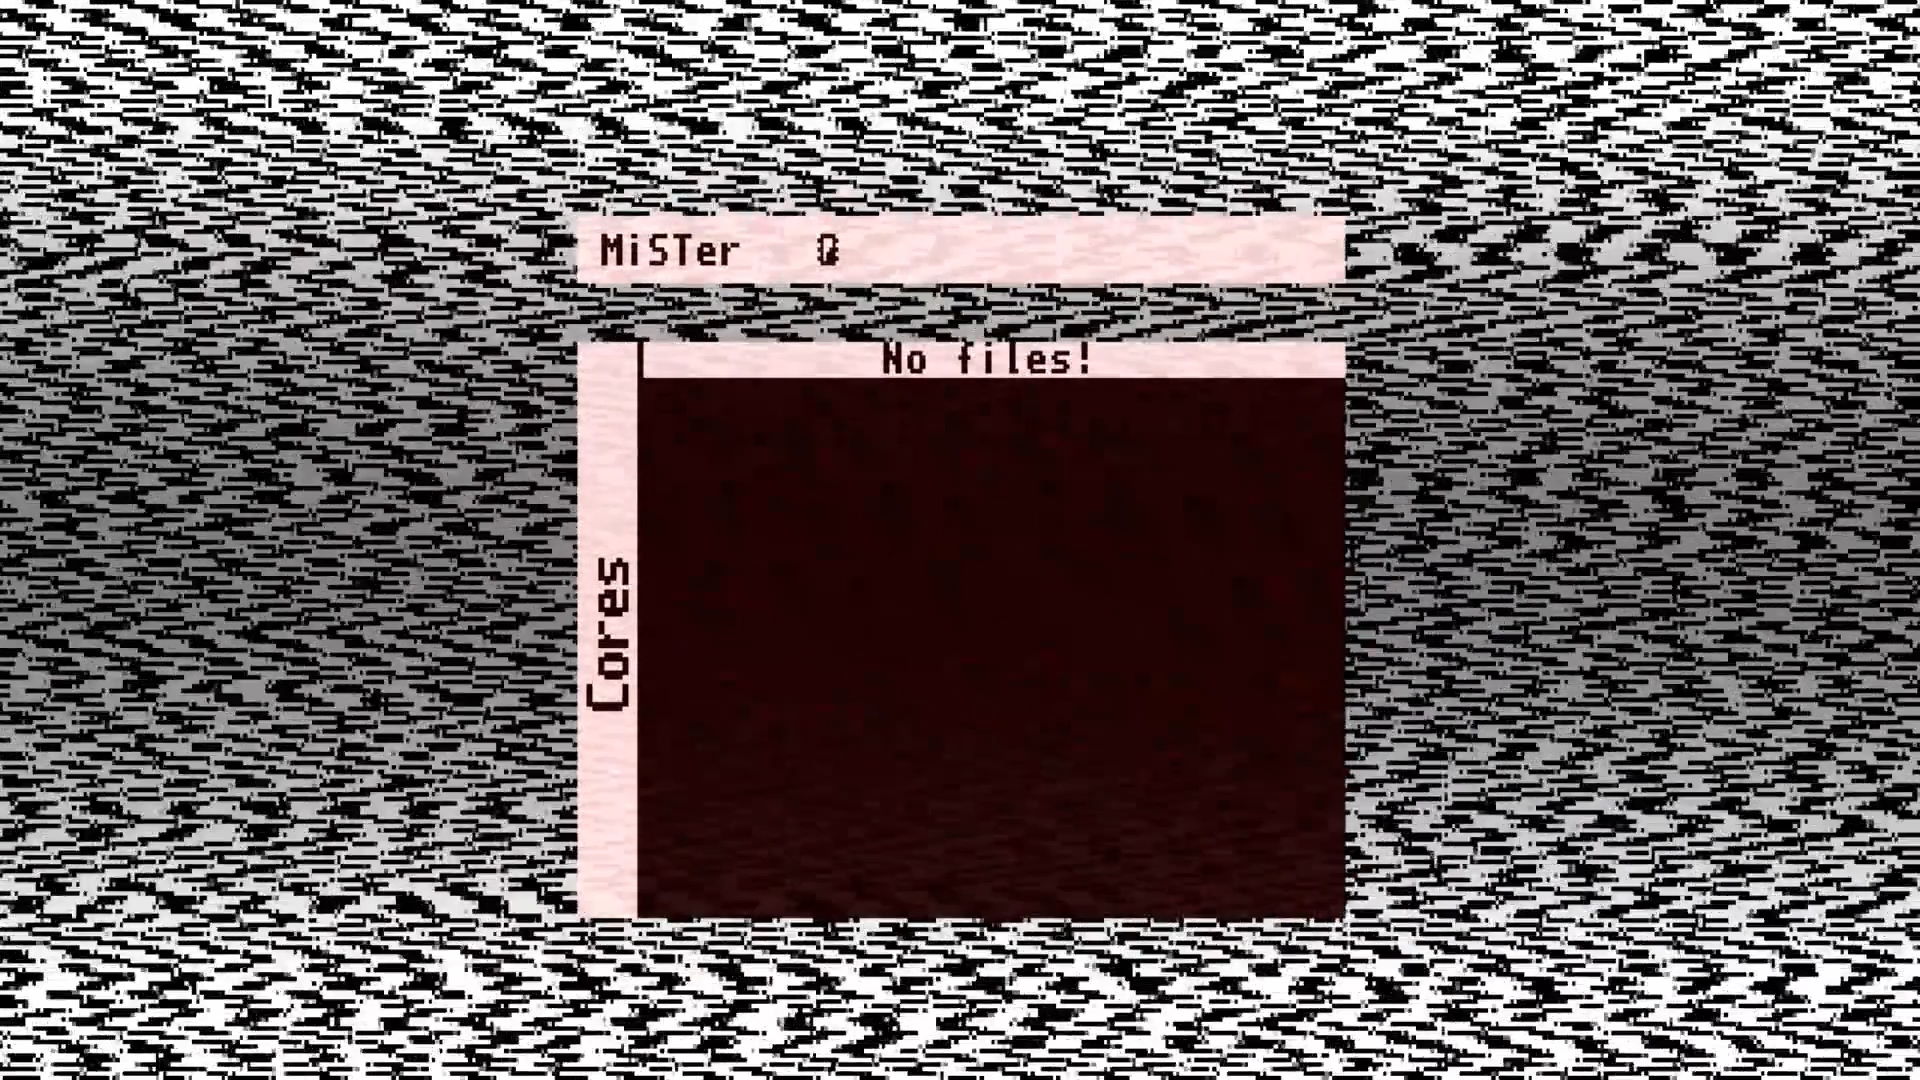
The easiest way to install the MiSTer software is via the MiSTER Fusion distribution. Simply flash an SD card with the image file, pop it into the slot, turn on and be greeted with this screen:

Followed shortly by the home screen of a clean install.

First thing to do is to press F1 a few times to replace that horrible static-y background with something more appealing. I like the colour gradient one, but if none of the default options tickle your fancy you can always add your own.
Next it is time to go into the Linux backend. A prompt can be brought up with F9, and the default root password is 1. Then it’s a case of navigating to the scripts directory and running the update script to bring the system up to date.
cd /media/fat/Scripts
./update.sh
Following the update and reboot, my menu screen now contains subdirectories with all of the latest versions of the cores downloaded and ready to use.
The next thing to set up is the network connectivity to ease file transfers to and from the machine. I have already assigned the MiSTer a static IP address on my network which makes life a lot easier, and I am connected via ethernet. The update script downloaded a number of extra scripts, including one which starts a Samba server, enabling folders on my MiSTer to be mounted by other machines on my network. There is a guide here, but it’s basically a case of renaming a script in /media/fat/linux in order to enable it, then running another script which turns on Samba and will turn it on again at every boot.
cd /media/fat/linux
mv _samba.sh samba.sh
/media/fat/Scripts/samba_on.sh
reboot
My MiSTer is now accessible to other machines, and what I like to do is map the SD card directory as a network drive on my Windows machine.
Next up, I have a shared directory on my NAS containing all of my retro computing files. I want to mount this drive on my MiSTer. For this I use the cifs_mount.sh script. Setting this up is as simple as opening it with a text file, editing it and then running it. I set my NAS IP address, the share name, the user name and password. LOCAL_DIR is the name of the folder within the SD card folder where the share will be mounted: I choose ‘network‘. I also set MOUNT_AT_BOOT to ‘true‘.
Finally, the SSD is mounted by default at /media/usb0/. For convenience, I like to use a soft link to also put this in my SD card directory.
ln -s /media/usb0 /media/fat/ssdEverything now is easy to access. I can copy files to my MiSTer home directory from any other machine on my network, and I can transfer or run files on my network share directly from my MiSTer.
Finally, I run the update_all.sh script. This is available here and is superior to the standard update script, chaining together various other scripts which install unofficial cores, arcade roms, and some quality of life improvements. There is an alternative version of this script available which will install everything on the USB drive by default.
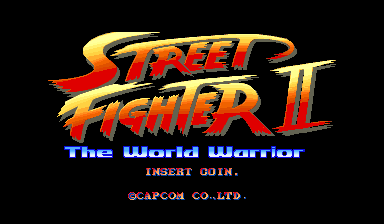
That’s the basic setup done. The arcade cores have everything we need, so time to start one of those up to test.
