5. The arrival
A delivery! A big brown box with a Checkmate invoice attached.
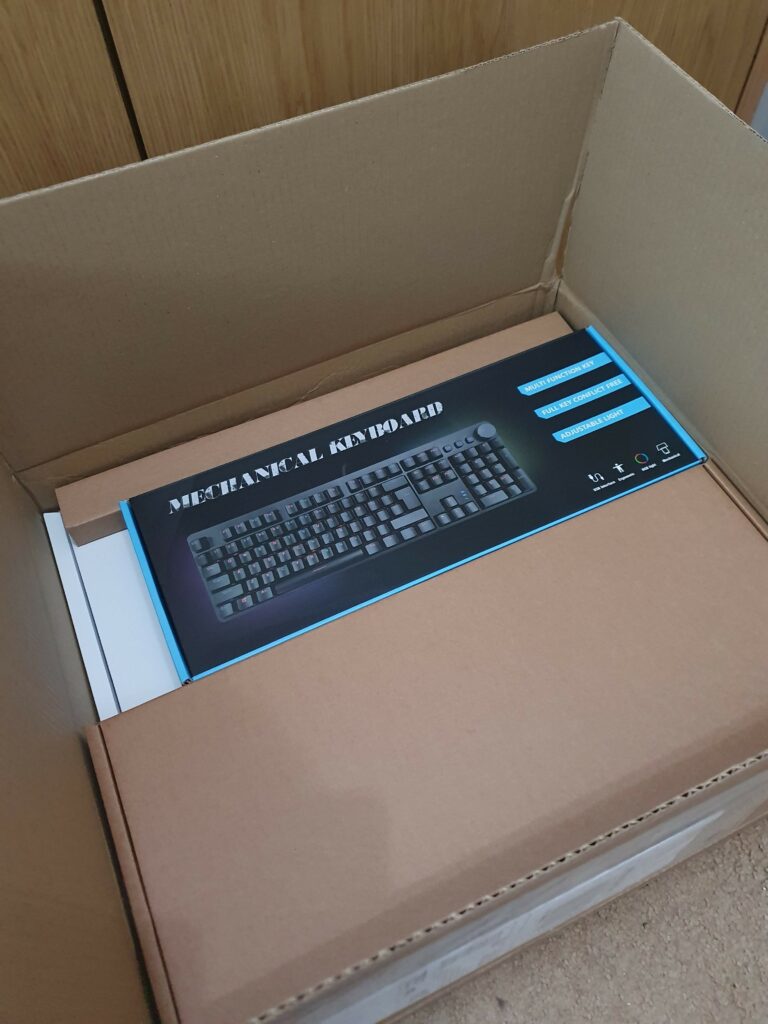
Opening up we find a boxed keyboard. We’ll get to that later.
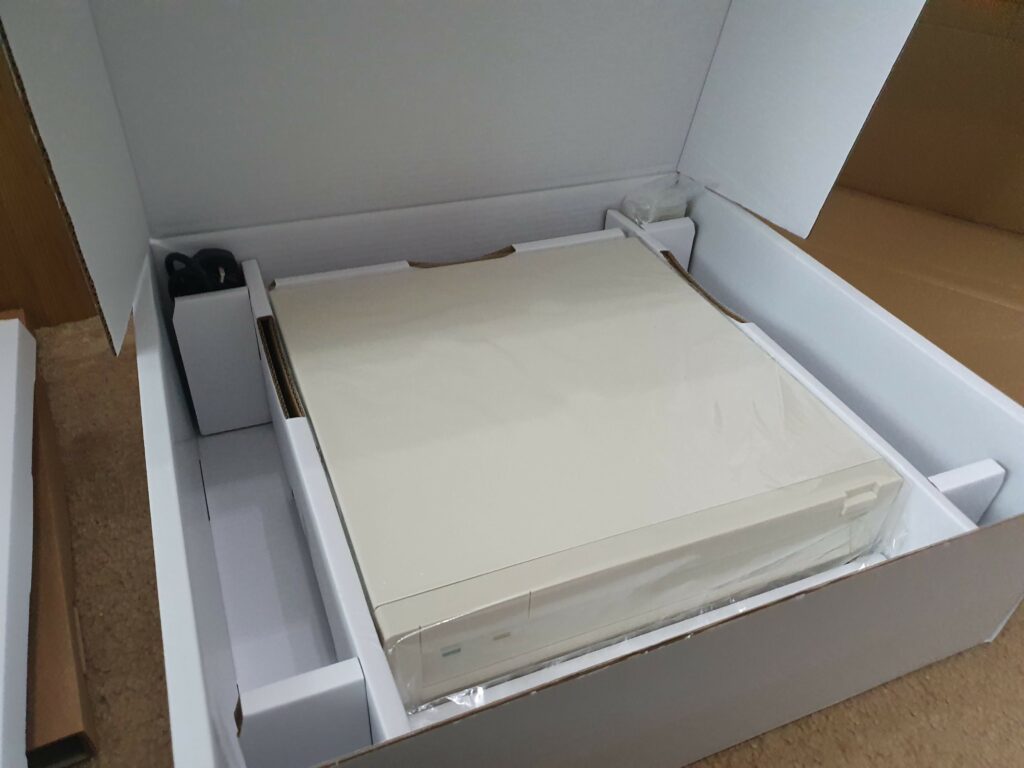
Underneath we find a white box containing the case and all of the associated cables.
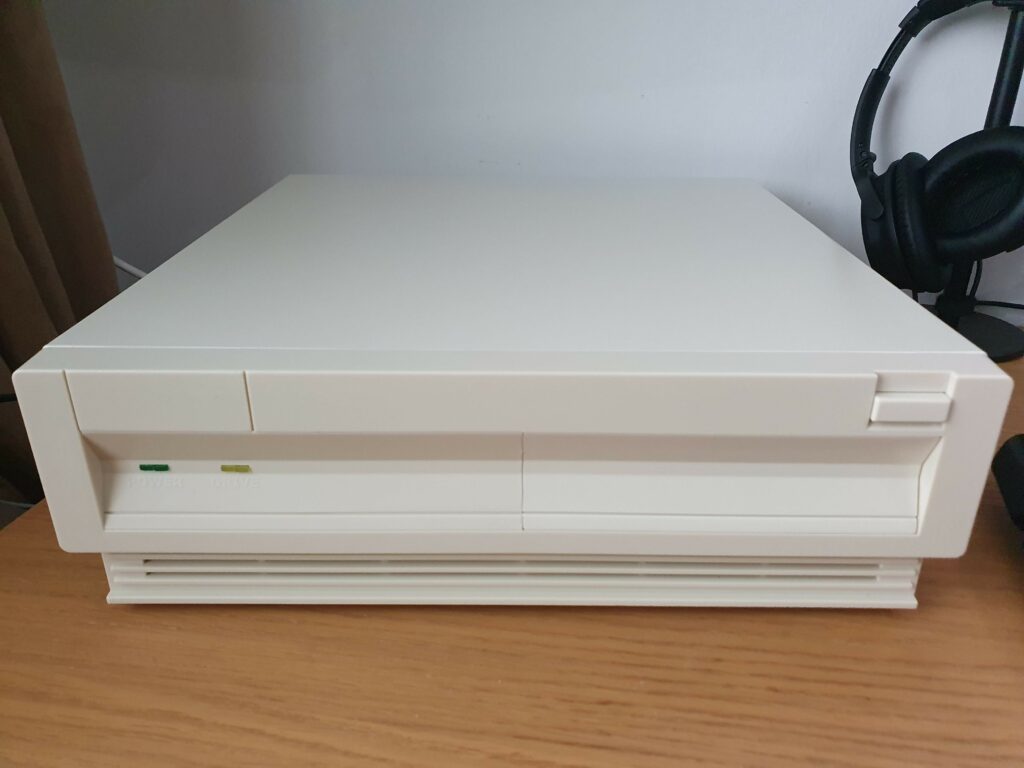
Popping it out and it really is a thing of beauty. A really nicely put together case with those classic Amiga 3000 lines. But the really interesting stuff is inside…
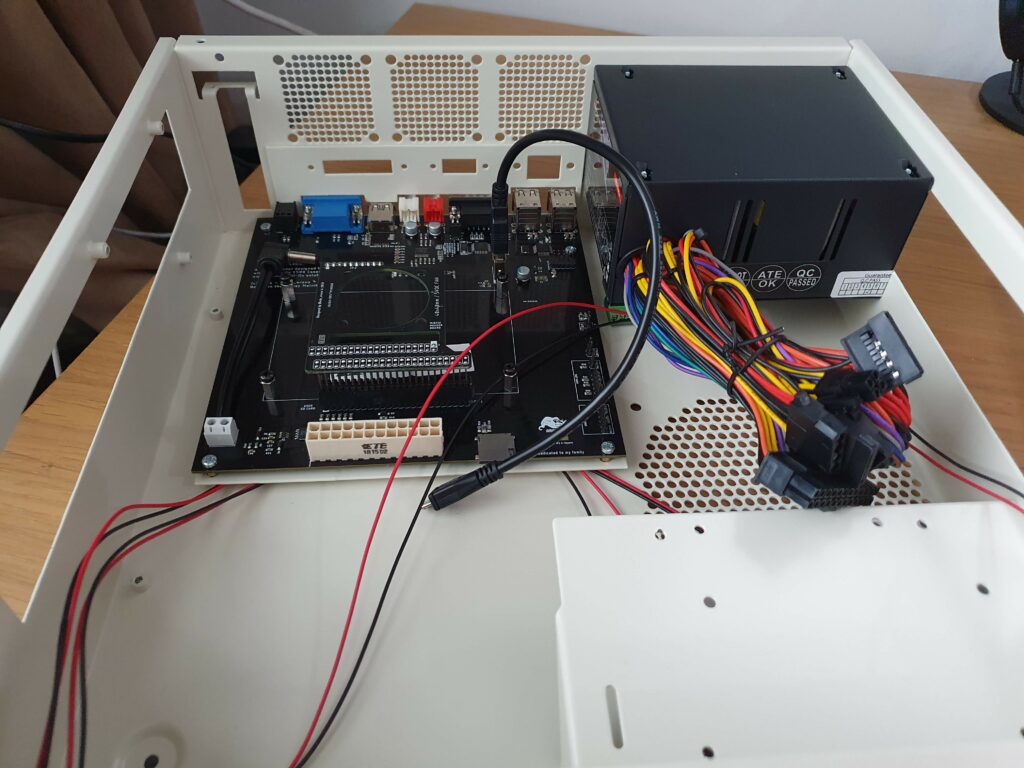
Opening up we find the extras that I ordered. First, to the left of the case, you will see the MiSTix board. This is an ITX header designed and built by Edu Arana of UnAmiga fame. Essentially what this does is take the DE-10 Nano and convert it to ITX format. You can see an empty rectangular outline in the board. The DE-10 sits there. On top of it there is a small mounting frame for a fan, which also connects the DE-10 GPIO to the board. All of the ports are relocated to the back of the case, and the board also acts effectively as a MiSTer IO board, in that it adds ports like VGA and audio, provides jumpers for lights and buttons, and even includes the second SD card slot you see on the IO board. This is why I didn’t buy an IO board – I knew this was coming with all the functionality I wanted.
The board is powered by a standard ATX connector, and that leads us on to the PSU at the right of the case. This is a bit different to a normal PSU. First of all, it’s the small SFX form factor to fit the case. Secondly, it’s ‘only’ 200W, which is pathetic by modern PC standards, but is massively overkill for a MiSTer, which uses a 5V supply. Crucially, this power supply was specifically sourced by Stephen Jones to use in builds like this: the problem with using a modern ATX PSU for a MiSTer or a Raspberry Pi or the like is that the current draw is so low that the supply refuses to work. This supply is tested and confirmed to work with these low loads. As well as the ATX connector the PSU has a couple of SATA and Molex connectors, which will come in handy.
Before we go any further, I have to test this out. I plug in my DE-10, connect the power and the HDMI cable, and fire it up with an old Amiga HD image I have on my SD card.
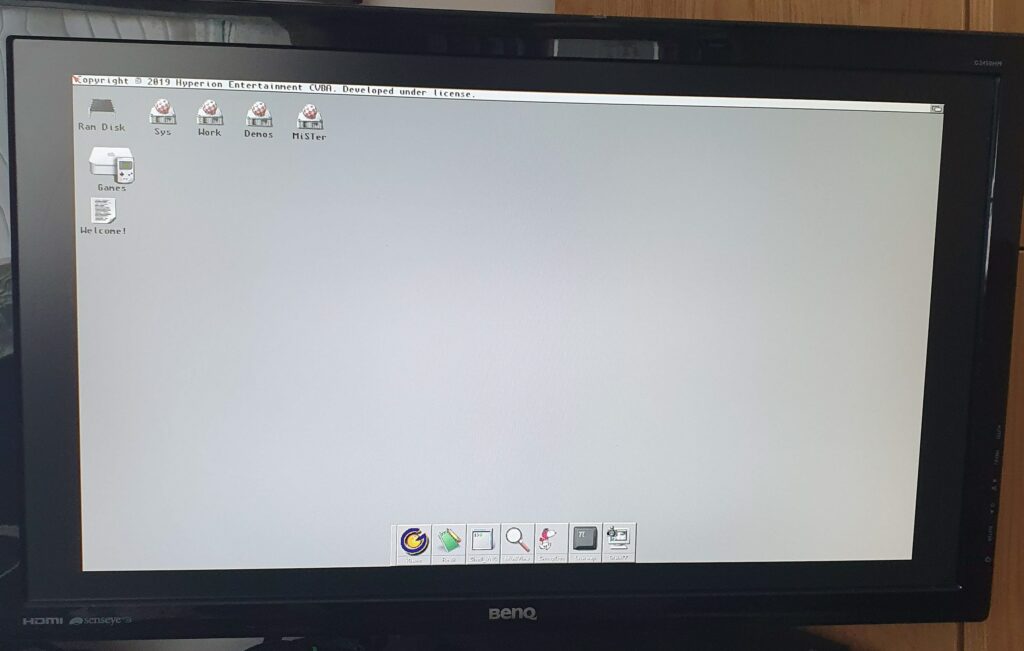
Success! The machine boots into Workbench. Now, time to power off and put my dream machine together!