10. You Ess Bee
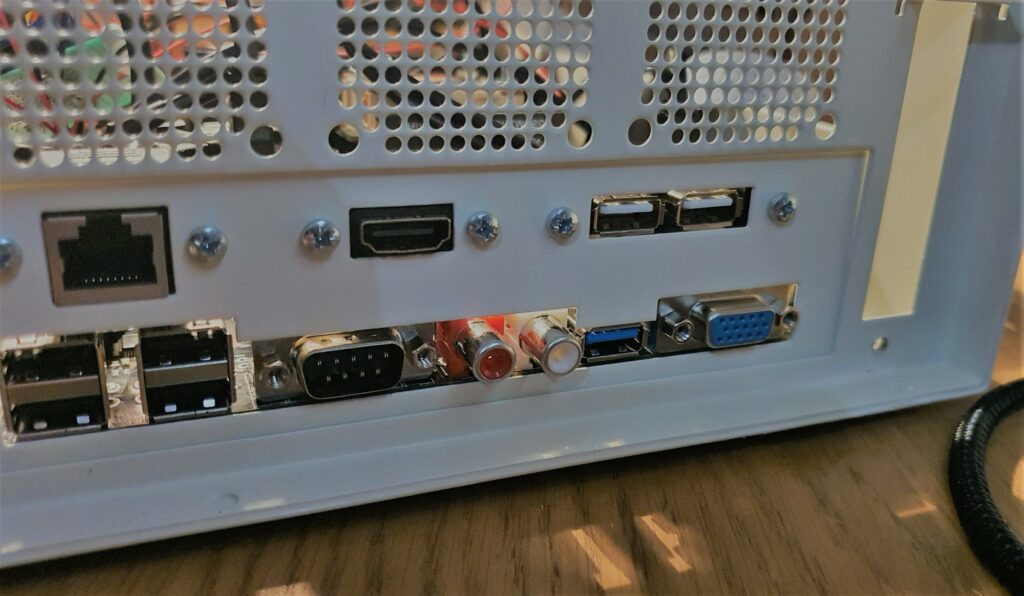
The MiSTix board is equipped with four USB ports on board available from the back panel (see below). The blue USB port you see between the audio ports and the VGA is in fact not a USB port: it is the MiSTer ‘user port’ which just happens to commonly use a USB connector.

Above the board in this image are four additional ports which are not mounted to the board itself: these are part of the MiSTix fitting kit. The ethernet and HDMI ports are extenders that connect directly to those respective ports on the De-10 itself. The two additional USB ports to the right of the HDMI connect to an internal USB header on the MiSTix board.
Now there’s a bit of competition for that internal header. As well as these two ports I also have two internal USB devices (and counting) that I need to connect up – the second DB-9 joystick port and the SSD. What I need is an internal hub.
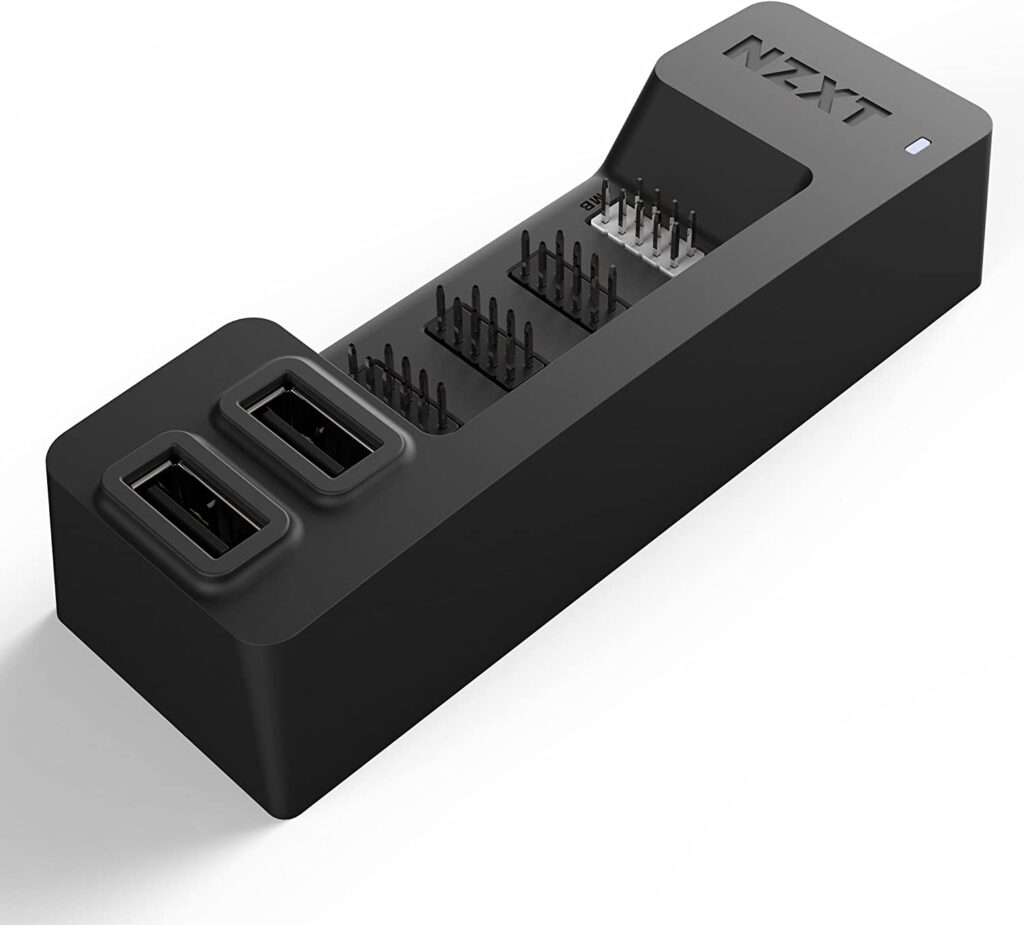
Searching on Amazon I found the device pictured below, which looked like just the ticket, expanding one internal USB into five in a nice compact package. Just the job really. The one thing that made me pause was the number of reviews that reported this thing burst into flames as soon as they plugged it in, bricking their PC. Presumably though all those people are just idiots who did something stupid so I ploughed ahead anyway. As a minor precaution though, I powered it up for the first time without making the USB connection to the board, just to check. This turned out to be wise when it burst into flames as soon as I plugged it in. Hmm.

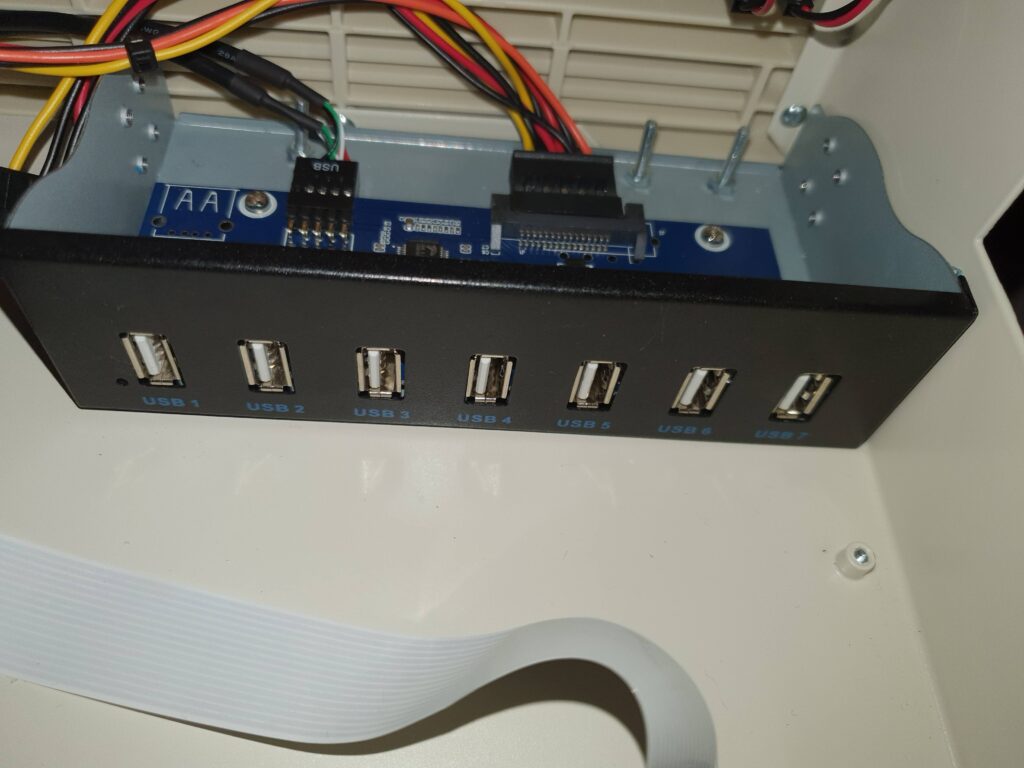
I struggled to find anything similar which was in stock, had the number of ports I needed, was powered, and didn’t look a bit dodgy (feeling a bit more cautious at this stage). In the end I went for an unusual choice, which is a USB hub intended to be front mounted in a 5.25″ drive bay in a PC case.

In the image about you can see I’ve screwed to the bottom of the case towards the front, so the ports are pointing into the case for easy access. This hub is SATA powered and connected to the internal USB header on the board, and you can see it expands that into 7 USB ports, which should be enough for my needs.

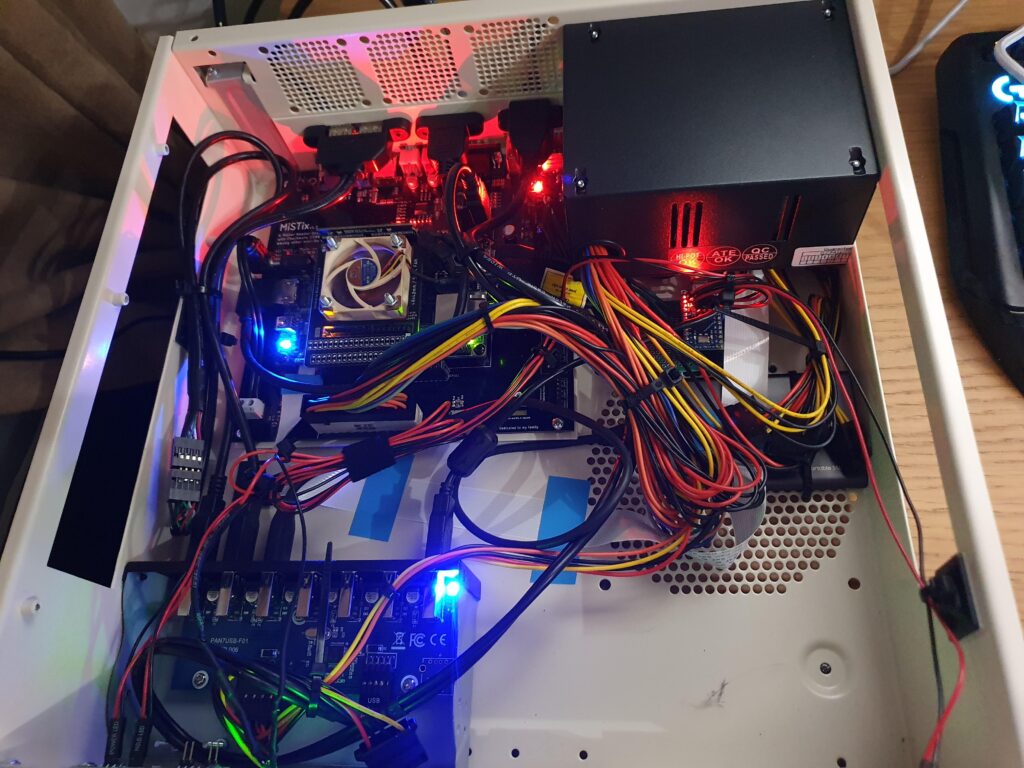
Here’s the whole internals at this point. Here the system is powered up and there are four USB devices plugged in: the SSD and Daemonbite adaptor for the second DB-9, both of which you can see on the right under the PSU, and the two extra USB ports on the back panel, which could have both been plugged into the internal header on the board but in this new setup need a port each. Three ports left to fill. What will I use those for?
Something worth noting is that for some reason I have attached the Noctua fan I bought to the MiSTix mounting frame with bolts and screws, rather than using the rubber vibration damping attachments which I know from experience are necessary if you want to minimise noise. I will revisit this decision at some point. For now though, the next task is that big empty area in the bottom right of this image. Yes, it’s time to work on the front panel of the case.