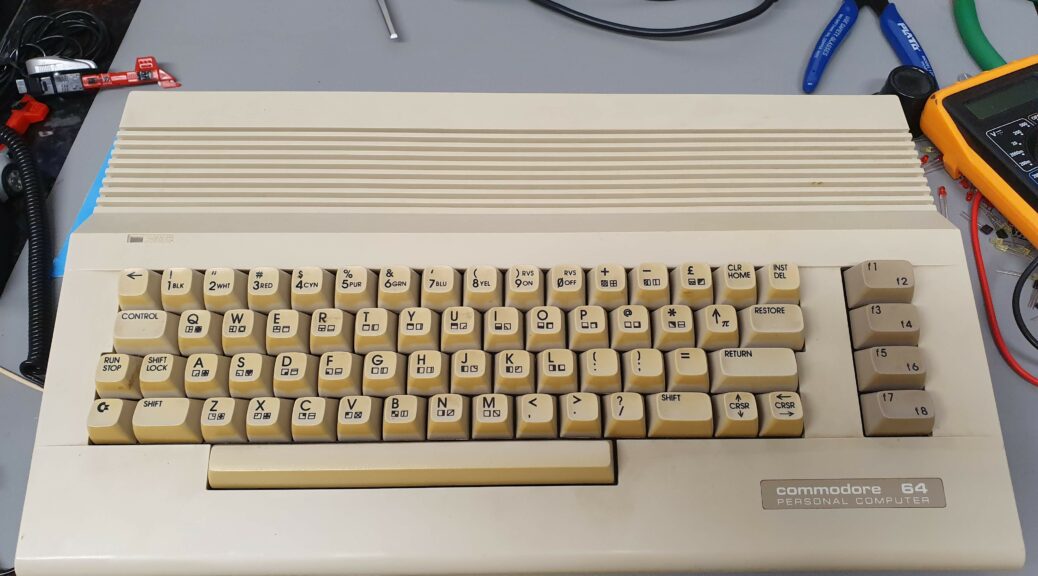
Under the hood
Time to crack the Commodore 64 open and find out what’s inside. This Commodore 64 has never been opened before if the intact warranty seal is telling me a true story.
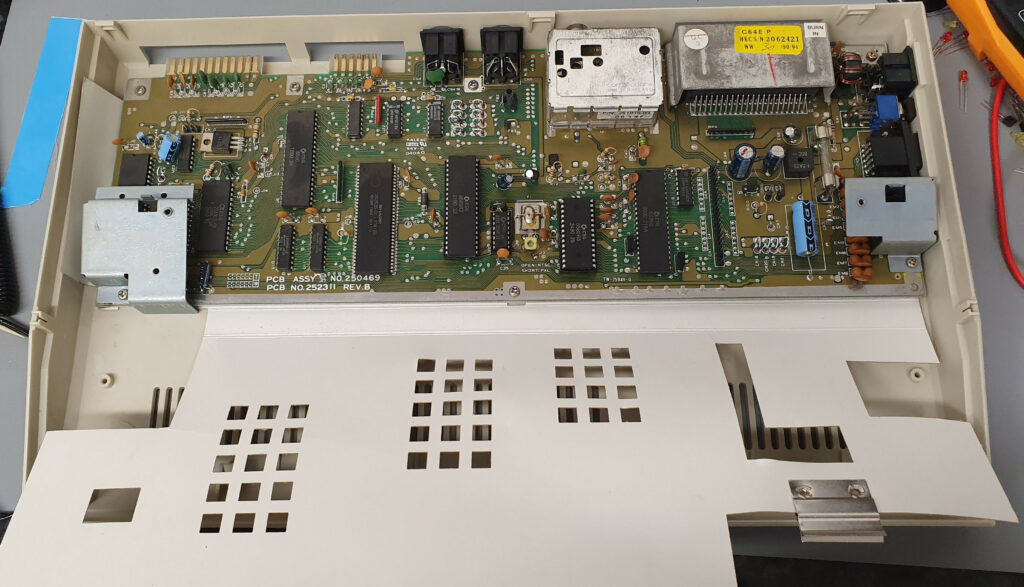
The case opens easily enough and I detach the keyboard and the power LED. Below this is the RF shield. This was an FCC requirement back in the day, purportedly to prevent the machine from interfering with other devices. Some C64s had a metal shield but many, including this one, used a silvered piece of cardboard, which I can’t imagine helped much. These days the main effect of this piece of insulating cardboard is to keep the chips toasty warm and increase the likelihood of thermally induced failure, so I won’t be putting it back in when I reassemble this machine. There is a metal clip on the sheild attaching it to the metal guard around the cartridge socket. When I detatch that the shield can be pulled back to reveal the main board.
First impressions are good. It’s a little grubby and dusty, but no sign of any corrosion or nastiness. Capacitors all pass a visual inspection. Looks like a board in good condition. This is an example of the ‘short board’ introduced for C64Cs in 1987.
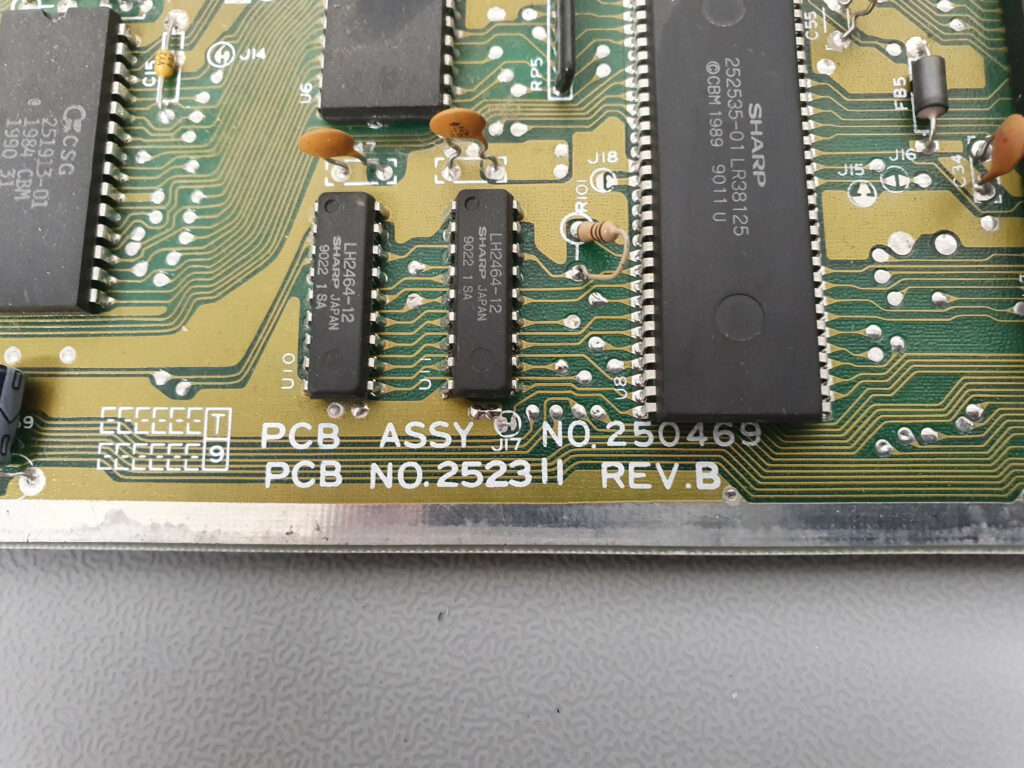
Specifically we see here that this is Revision B of the Short Board (Assy 250469) PCB. I believe this was the last revision of the mainboard which Commodore produced, and was released late 1990. The batch numbers on the chips are mostly 1990 numbers, so it looks like this C64 was made around about the same time as my childhood machine. If I was a gambling man I would bet this was sold as part of a Light Fantastic pack. I find that quite pleasing.
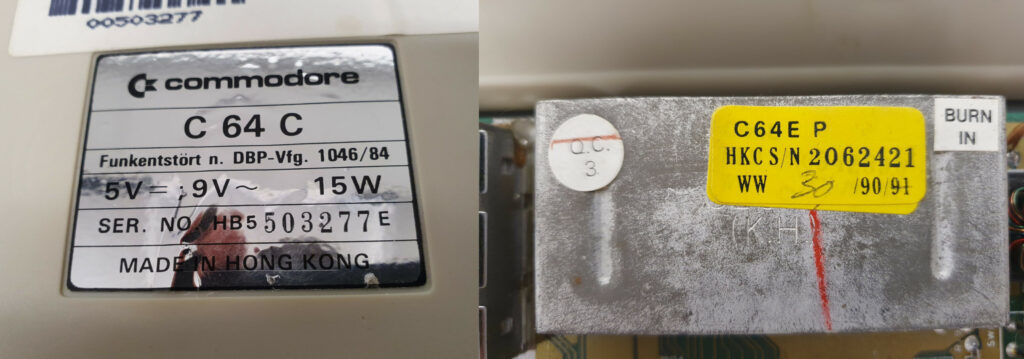
In the figure above you will see that the serial number on the case is completely different to the serial number I find on the yellow sticker on the board itself. I believe these are supposed to match. One explanation is that the mainboard in this case was swapped out at some point, but I find that unlikely. In actual fact it is extremely common to find such mix-matches: the philosophy behind assembling Commodore machines was to throw together whatever was available in the factory at the time. On the component level you can find a wide range on manufacturers: again, it depended what was in stock at the time. Of course C64s were manufactured all over the globe as well.
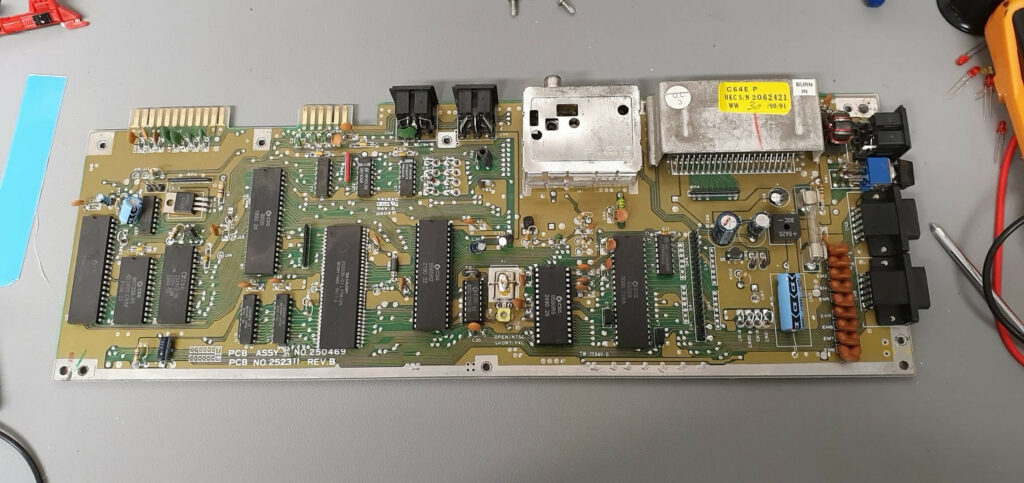
There are two metal keyboard supports to be removed, and then just a few screws before the board can be lifted out entirely. Nice and clean underneath. Time to give her a test.
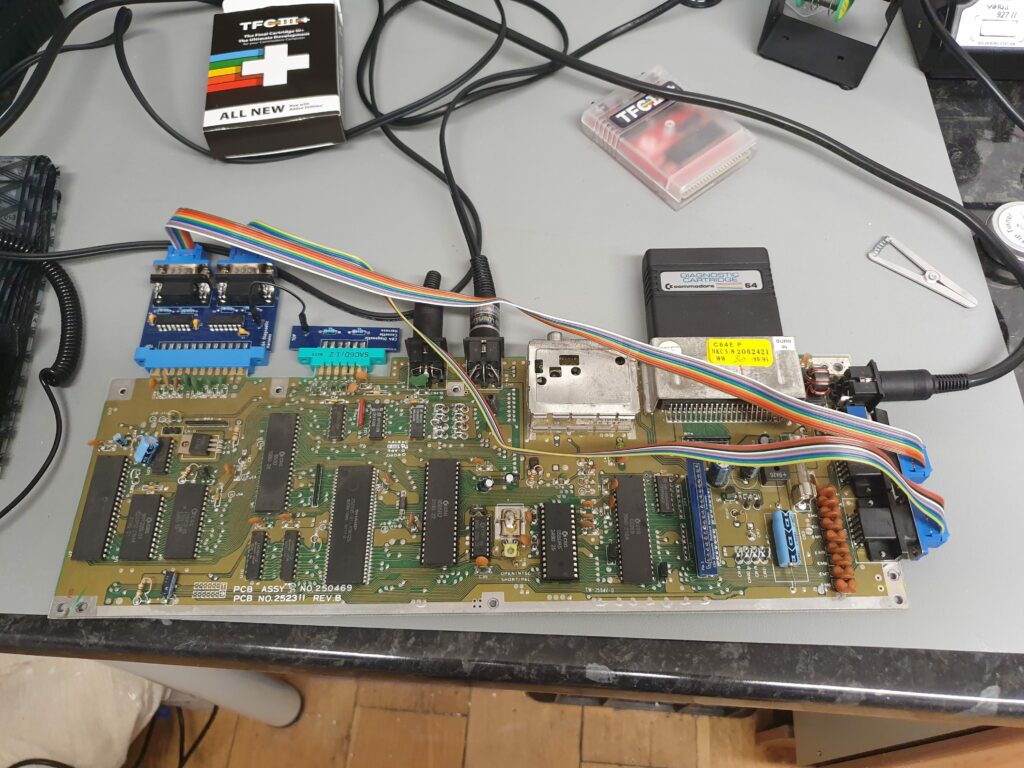
In the picture above I have the board connected to a display, my power supply, and then all the ports are populated with a test rig. The cartridge in the port is a copy of the test cartridge which Commodore engineers would use to diagnose problems. You can run the test routine just with the cartridge, but some errors will be thrown due to the lack of a response on the various ports. The test rig here consists of widgets to plug into the user, tape and serial ports, another one for the keyboard connector, and some cables to connect the joystick ports to the PCB plugged into the user port.
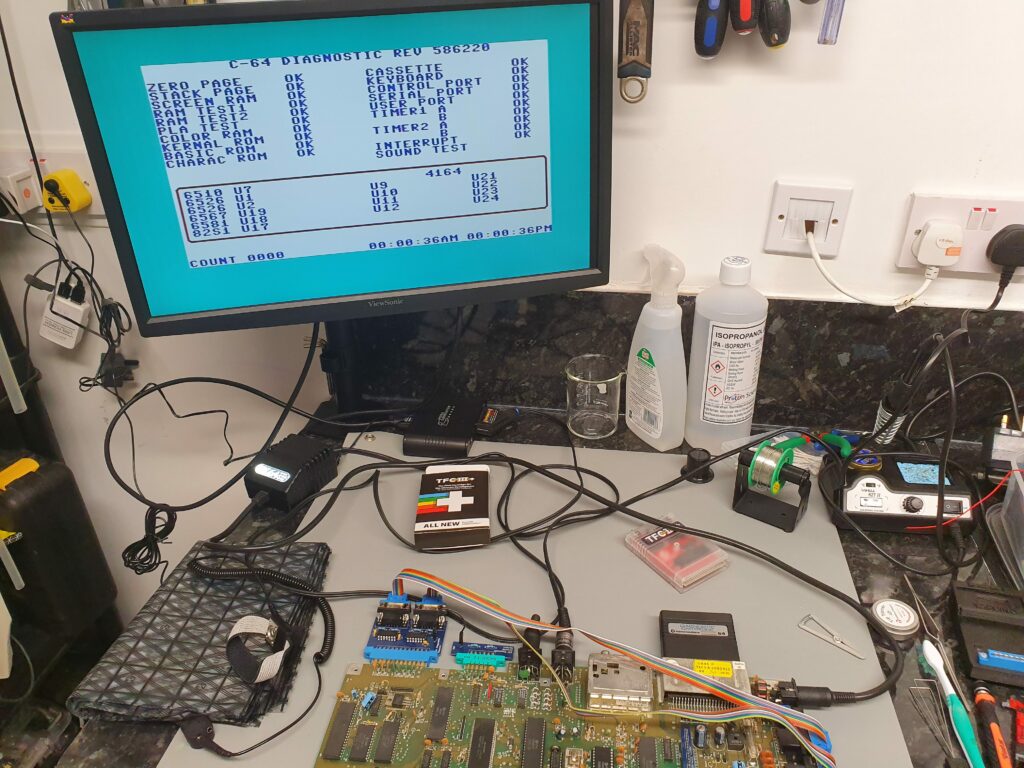
Firing the test rig up shows a machine which appears to be in perfect condition. No faults detected. The audio output is also fine. Looks like we’re in good shape!