8. Amigas have two joystick ports
The early Atari consoles introduced a standard for connecting controllers such as joysticks, gamepads, mice and so on which saw widespread adoption and lived on well into the 90’s. It was based around a 9-pin D-sub connector. Images below are from the Wikipedia article on the subject.


As a point of interest, many if not most aficionados of 80/90s computers would refer to this as a ‘DB-9’ connector. I know I would. This is actually wrong: D-sub connectors are a family, and in ‘DB-9’, the ‘D’ refers to the general class of connector, the ‘B’ refers to the size of the casing, and the ‘9’ is the number of pins. Now ‘B’ in DB-9 represents a much larger casing: one that if filled with pins would contain 25 pins, not 9. The casing shown above is an ‘E’ casing, so this connector is correctly referred to as a DE-9. Why was this mistake made? Well, some of the first D-sub connectors to appear on computers (as serial ports) were the much larger DB-25 connectors, and so when the smaller connector was adopted as well it was erroneously labelled DB-9 in many cases, the labellers not understanding the nomenclature. The name stuck, and here we are. Even today I get tens of thousands of hits on eBay searching for ‘DB-9 connector’, but only 51 when I search for ‘DE-9 connector’. A fun piece of knowledge there to impress your dining partner with next time you are on a first date.
Anyway, the Atari standard was adopted completely by Commodore for their machines, with the VIC-20 featuring one controller port, and the C-64 and Amiga featuring two when the benefits (multiplayer gaming, mouse and joystick both connected) became obvious. As far as I know, every Amiga ever built has two joystick ports. So imagine my distress when I realised the MiSTix board has but one. Amigas have two joystick ports.
Now, I could mention at this point that these days I own hardly any controllers with an Atari port on it, and only one that I could see myself actually using. But that’s completely irrelevant to the discussion at hand: I don’t know why you even brought it up. The important point is this: Amigas have two joystick ports.
My dream MiSTer machine therefore needs a second port. Fortunately, there are adaptor options out there to enable you to attach an Atari joystick via USB. I own and can recommend this neat little job from Monster Joysticks. So the simple option would be for me to just use that, or buy another one for the princely sum of £9.99. I opted for the more complicated option of building my own.
For this I am indebted to the author of the DaemonBite controller project. On this GitHub site he has posted code and instructions to make a controller with minimal input lag using an Arduino Pro Micro. This is a tiny little microcontroller which can be had very cheaply. Making the device is simply a case of uploading the project to the board using the Arduino IDE, then wiring the board up to a DE-9 port using the following guide. Compared to the arcade controllers which are also possible with this code, we have fewer buttons to deal with here so fewer wires.

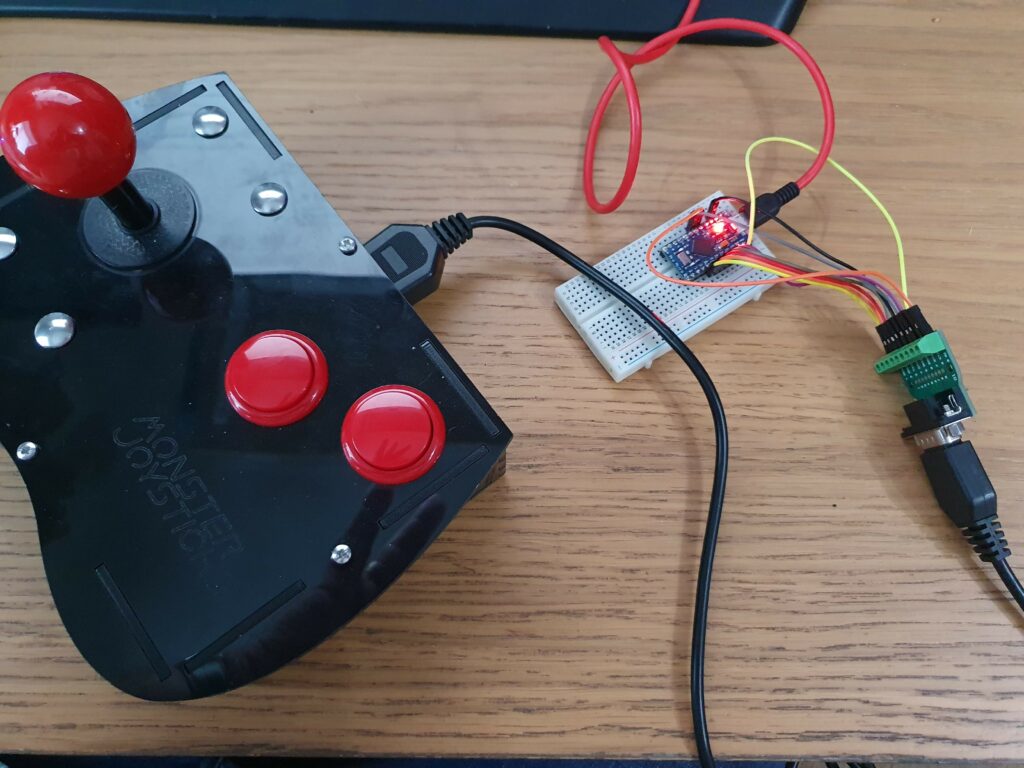
In the image below you can see my prototype on my desk. The Arduino is on a breadboard and connected with Dupont wires to the DE-9 socket. I’ve picked out a solderless breakout board to use for the socket which is easier to deal with when messing around like this. The red USB cable is going to my MiSTer, and plugged in is my Deluxe Mini Monster from Monster Joysticks. This is one of many excellent retro joysticks they sell as flat pack, assemble-yourself kits with genuine arcade parts. I also have one of their Deluxe All-in-One joysticks, which is a 9 button stick with room inside for a Raspberry Pi: this is my RetroPie machine. In summary, the Monster stuff is great and you should buy it.

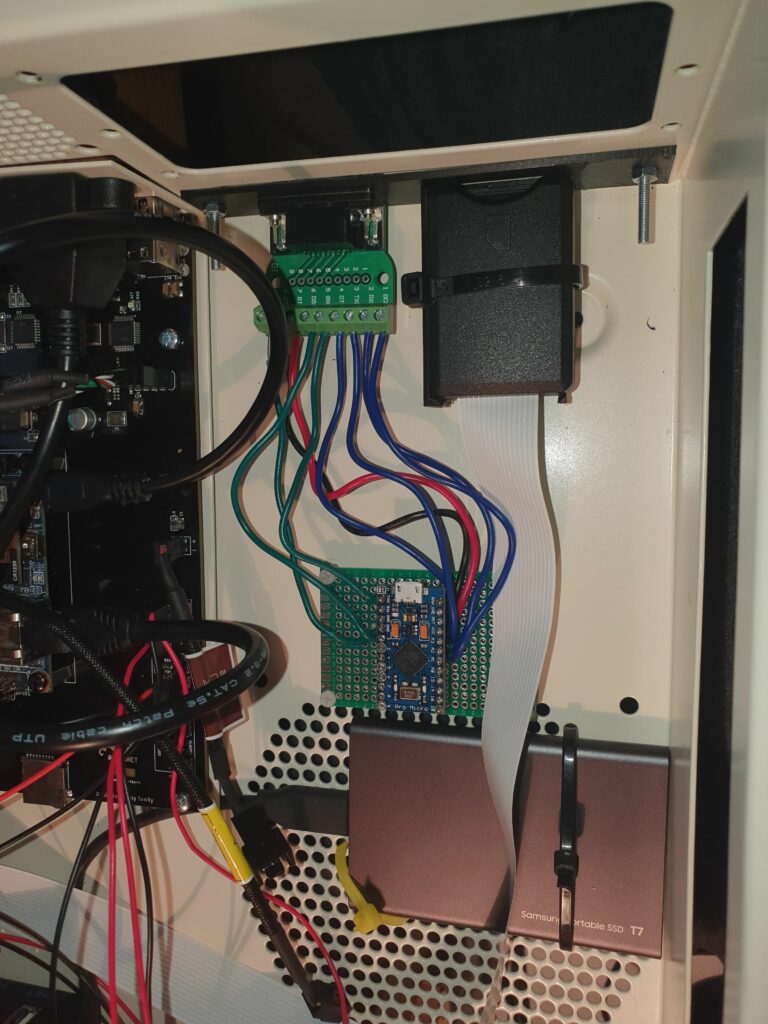
Finally, the image below shows the DaemonBite controller mounted in the case. I have replaced the breadboard with a little development board with the wires soldered in, for a more permanent solution. The DE-9 socket is screwed into a 3D printed plate which fills an access slot below the PSU mount, that is curiously left open in the basic Checkmate case. Please ignore all the other mysterious new stuff (for now!)

All that remains is to connect it to an internal USB. Now we hit a problem. There is an internal USB header on the MiSTix board, which by default connects to two external USB ports which are on the back panel, complementing the four ports which are mounted directly to the board. Now that won’t do at all. We’re going to need more internal USB functionality than that.